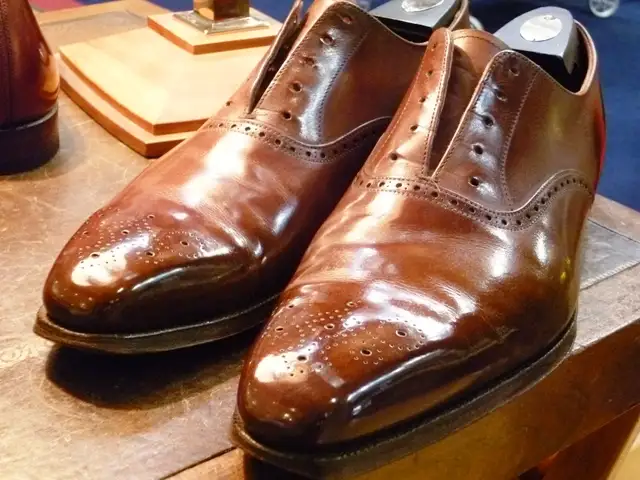
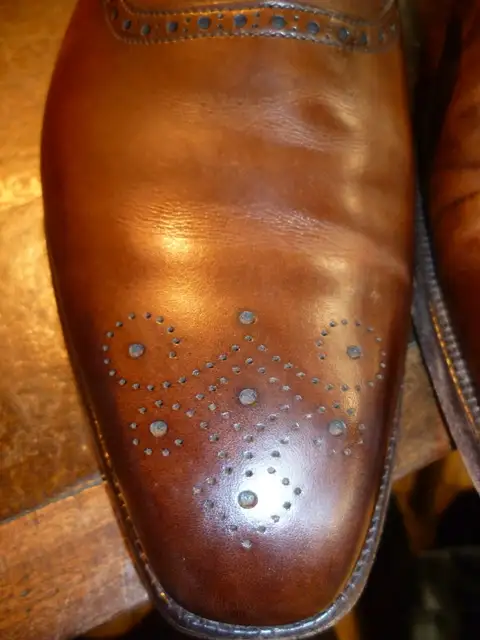
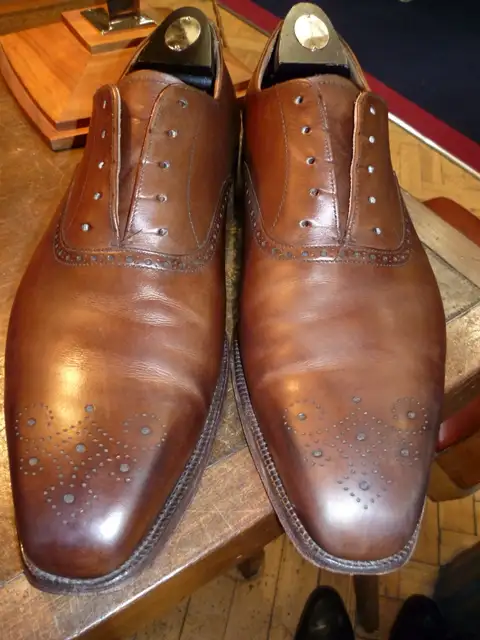
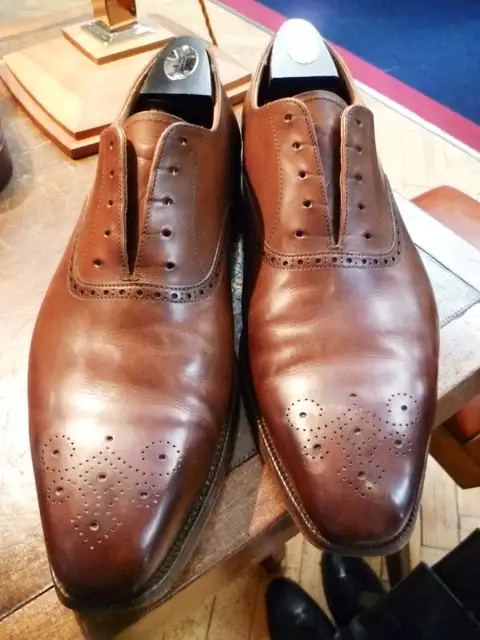
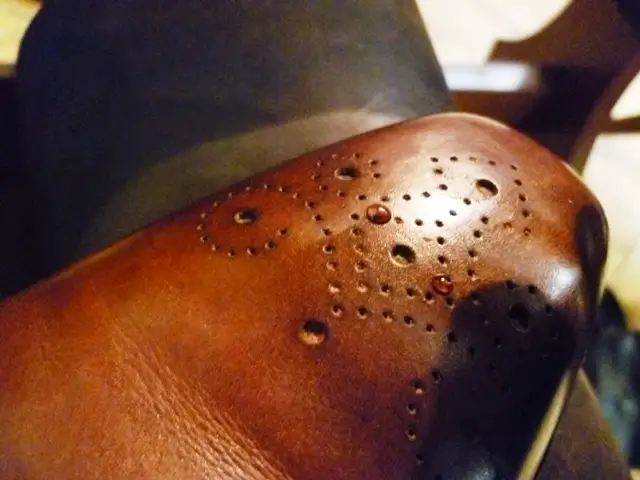
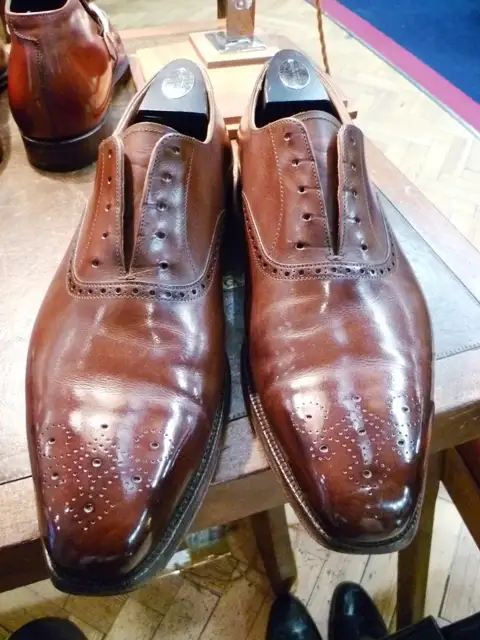
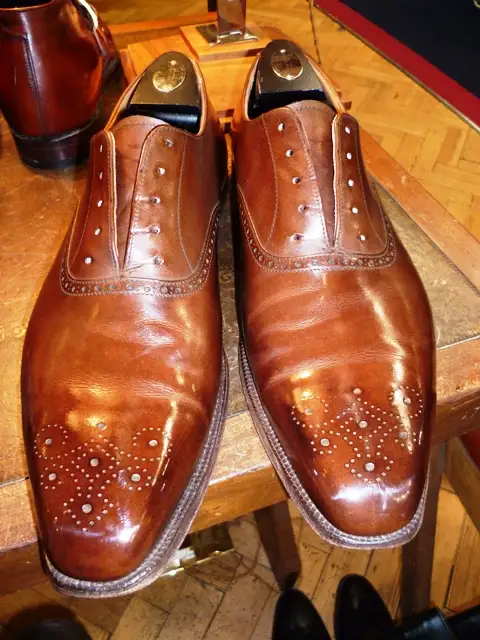
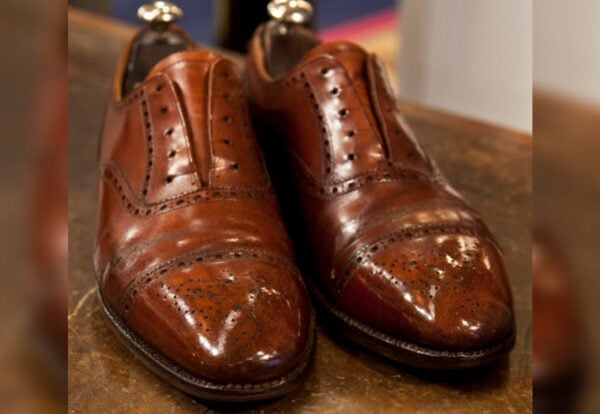
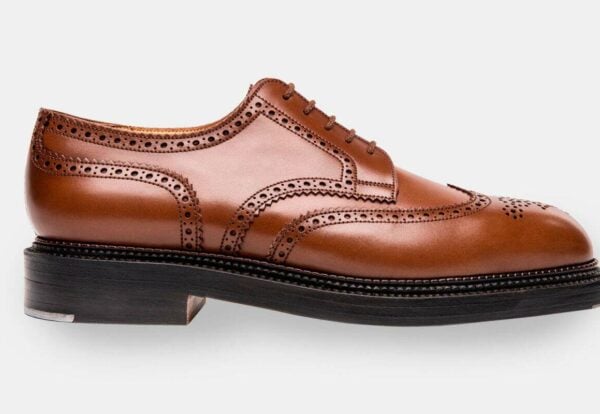
Knowing how to polish your shoes properly is an important skill for anyone that cares for their shoes. Especially if they see them as an investment. Let me start off by saying that, in my beliefs, there is a profound difference between a deep polish and a simple shoe shine. And what I do, is a deep polish and that is defined in the dictionary as, ‘to make smooth and glossy.’ And to achieve that, one needs to use their hand and have ample free time. That being said, you can see the pair of Crockett & Jones that I had to work with.
These were the perfect shoes to add a mirror shoe shine for my post as they had some leftover polish on them that needed to be removed that could help show the entire process. That is important because time and time again I have had customers come in with their 10-year-old shoes, that have just been caked with layer upon layer of polish right on top of each other. And the bad thing about this is that you see cracked polish everywhere and it is not pretty. Yet many people tend to just polish on top of that, which does not make it go away but rather helps to set it in further which over time is not great for the leather.
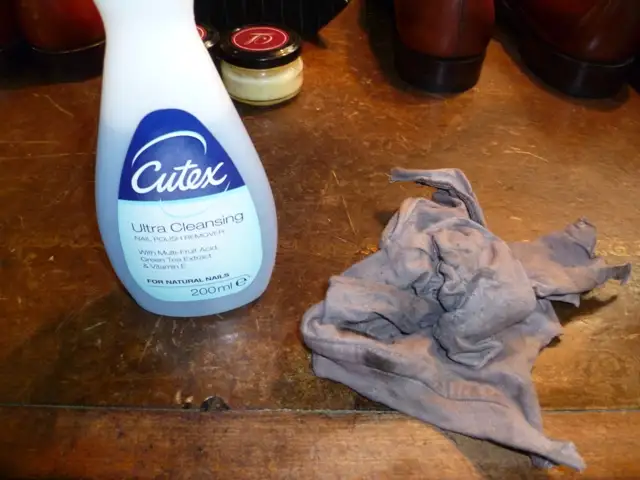
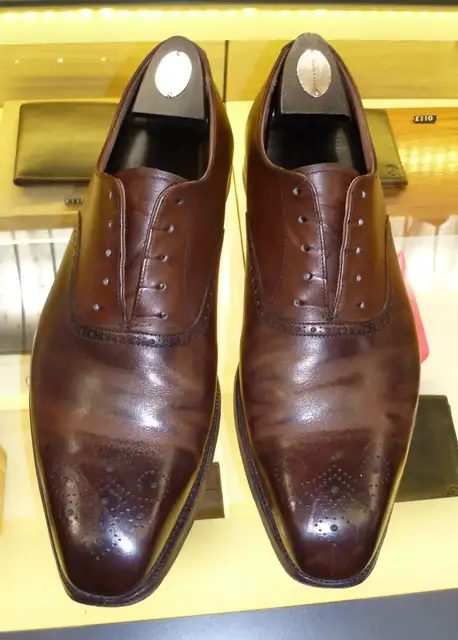
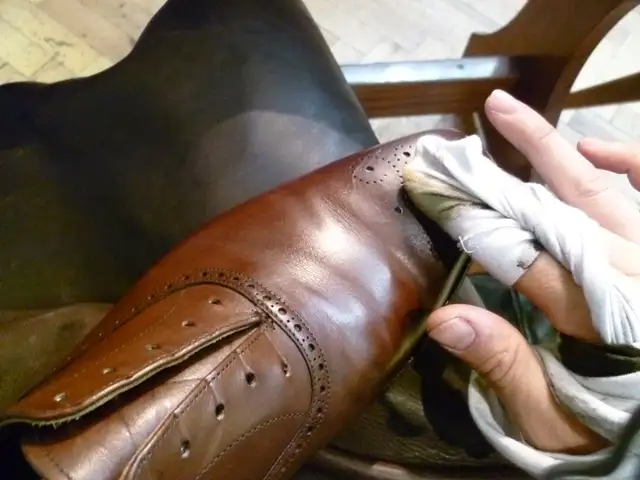
Instead, one should remove the excess polish and start fresh again, each time they wish to create a new shine. So that’s what I did. Now, you can do this several ways depending on how bad it is set in. For the sake of time, I used a little bit of help with the nail polish remover and added it to a rag in order to easily remove the old polish. (But before I did that, I brushed the shoe down with a horsehair brush to remove dirt and dust, as well as took out the laces) Sometimes this can be done with the liquid and sometimes you can use alcohol spirits instead of nail polish remover. The only thing is to be careful with whatever liquid that you use because you can take the finish with you if you rub too hard.
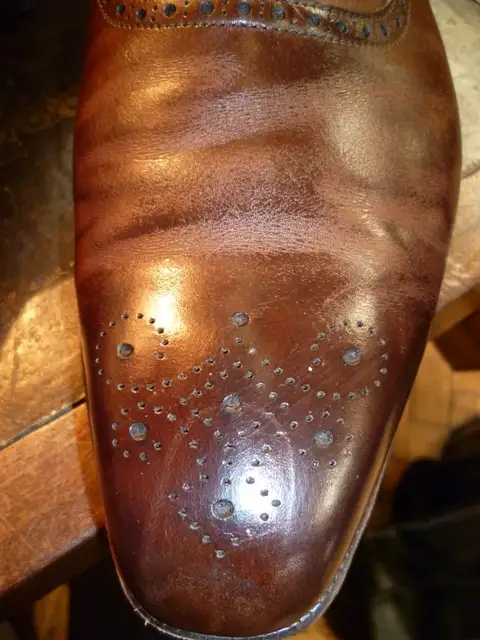
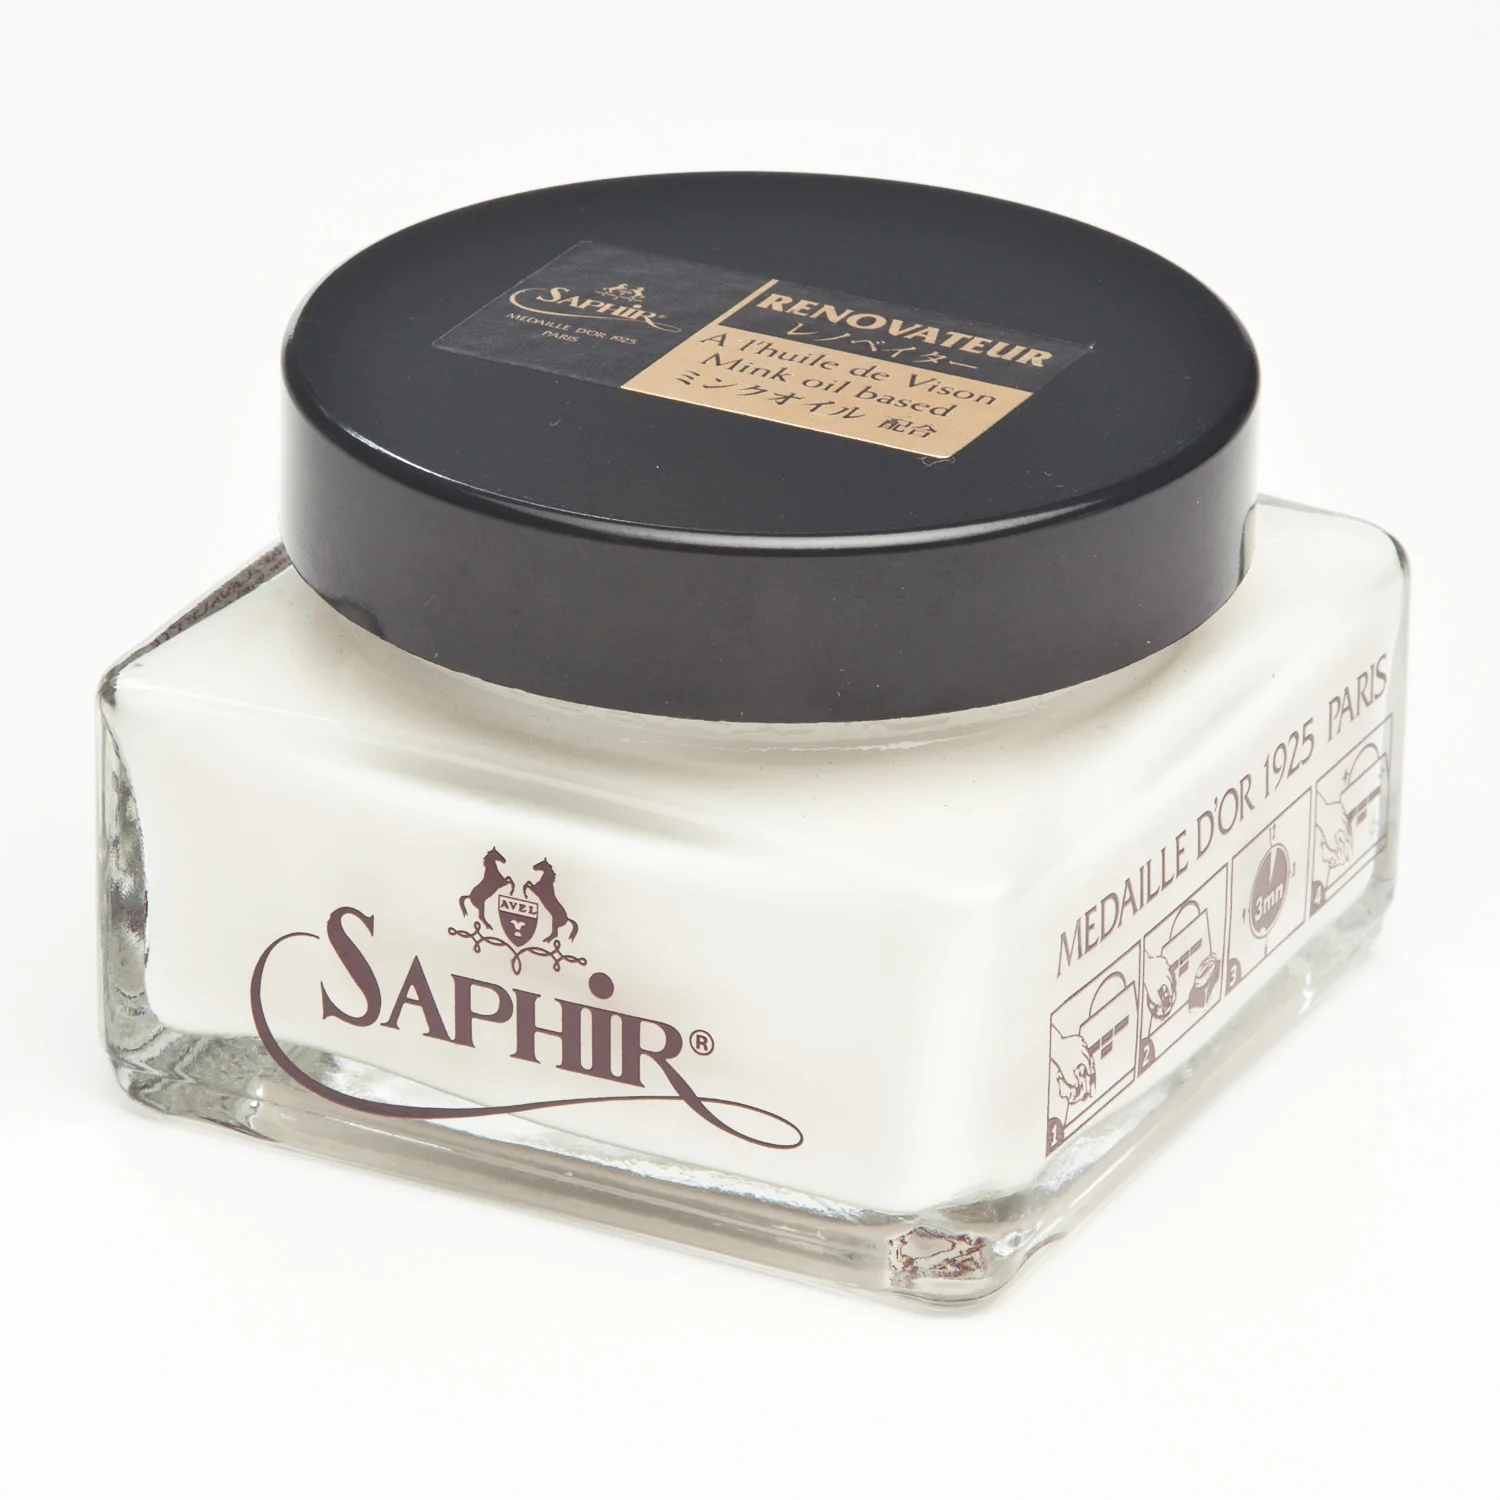
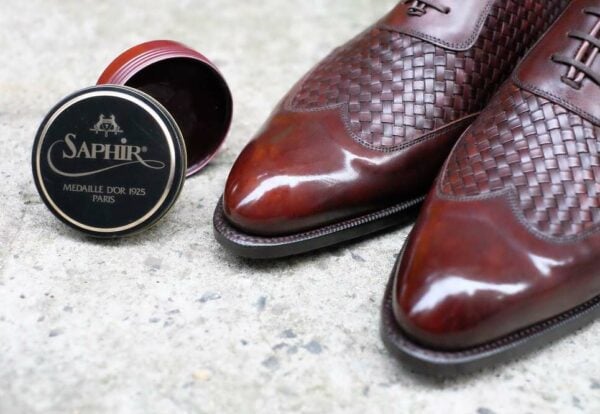
Now the next thing that you need to do is to rejuvenate the leather. You can do this with many different products: mink oil renovator, leather balm or some cream-based conditioner. What I typically use is the Renovateur by Saphir, as you can see in the photo above. You do this step in order to soften up the leather and get it ready to absorb the polish better, as well as clean off any dirt or dust that may have been missed from the brush.
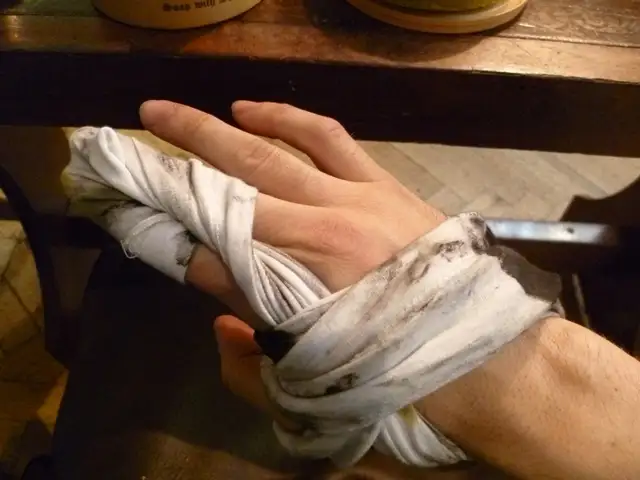
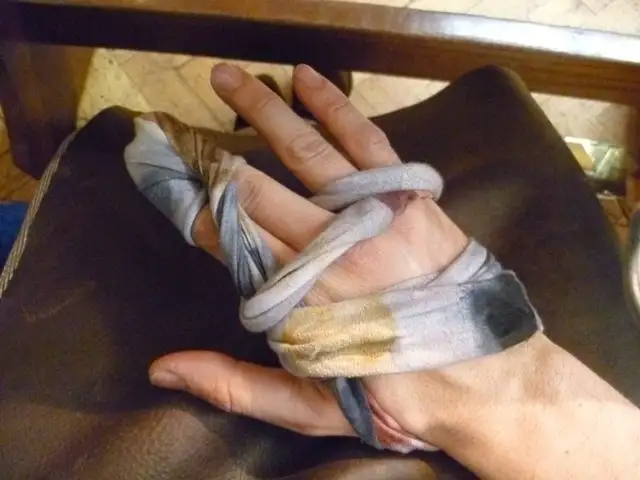
To get it deeply into the leather, I apply it with my two fingers that are wrapped by a cotton t-shirt that I cut up. I also use this same method to apply the polish but use a different t-shirt to do so, as to not mix the products together. After applying the conditioner, it is best to let the shoe dry for 10-20 minutes. And you will notice that in-between each stage there needs to be this dry time period so as to not over-soak the leather and allow for the products to truly set into the leather.
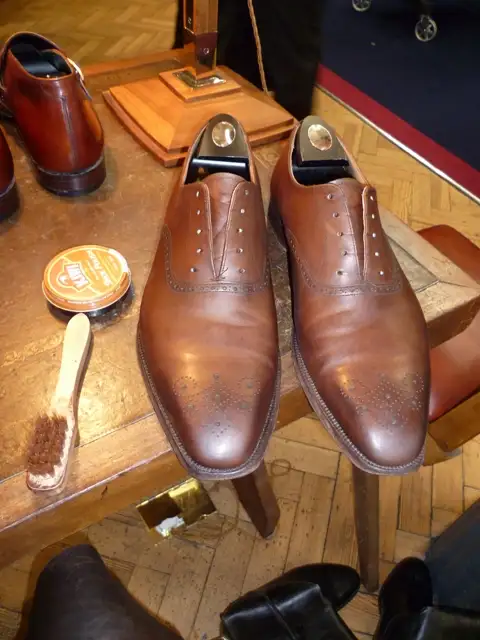
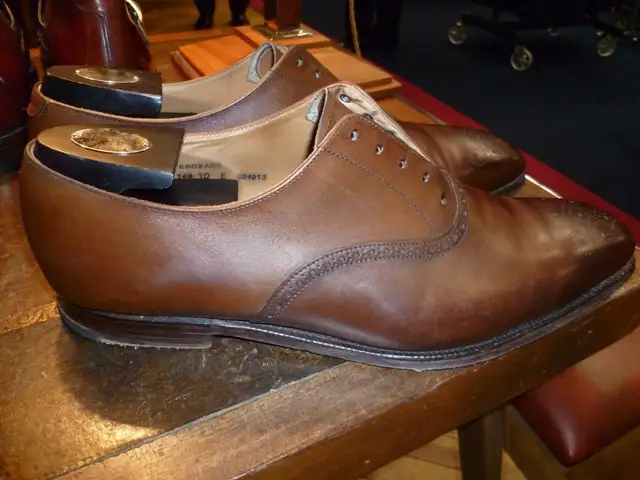
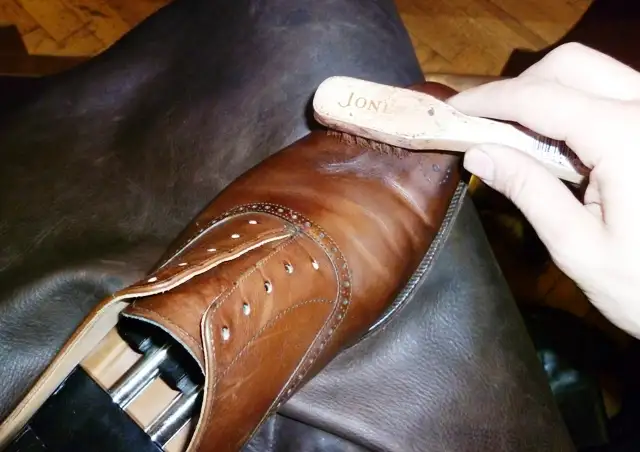
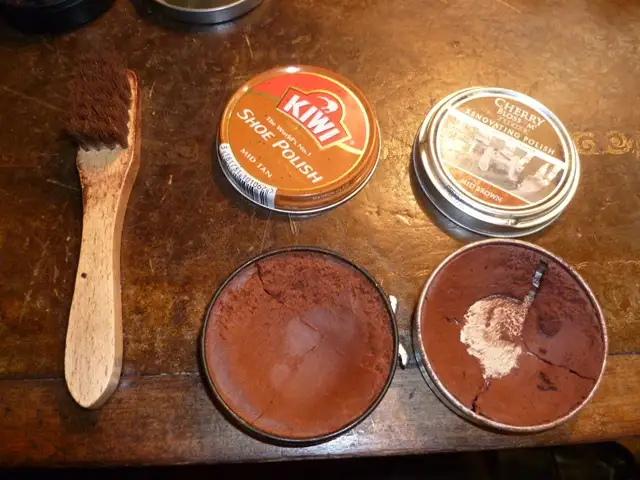
After conditioning the leather, you will need to apply the first round of polish with an applicator brush. I tend you use more of a cream-based or regular polish for this step (not a wax) as it is better for bringing back the color. You do this to really get the polish into the leather and want to make sure that you hit every part of the shoe, like the welt and the stitching areas. Do not cake on the polish but apply thinly and evenly around the whole shoe.
This step can be particularly tricky when dealing with a very light-colored shoe, as light leather can sometimes be easily affected by moisture (i.e. the polish) if not applied carefully. So if you do have a very light tan shoe, I always suggest applying a small amount on the heel first to see how the leather reacts and if it does darken, then quickly and lightly brush that spot with the soft bristled horsehair brush to make it spread evenly. And just know that some light leathers are going to darken no matter what, so deal with it if it happens. After this stage, let the shoe sit for 10-20 minutes again.
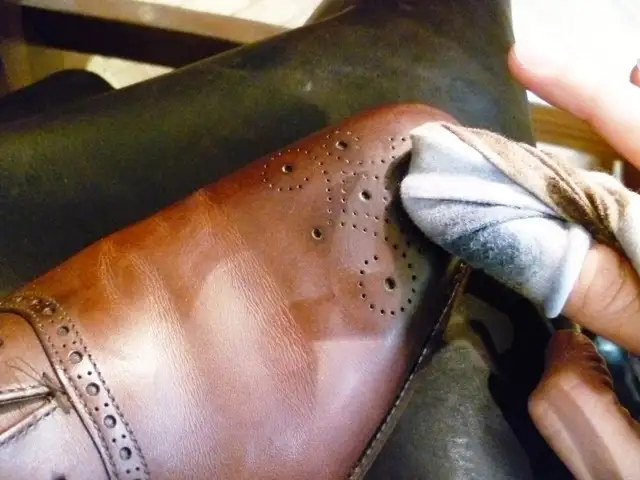
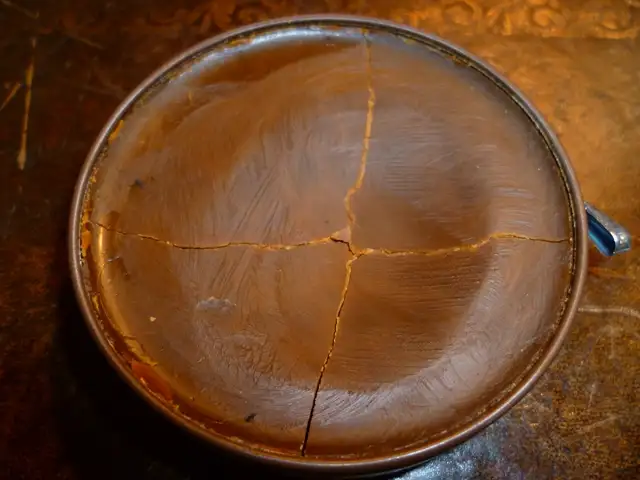
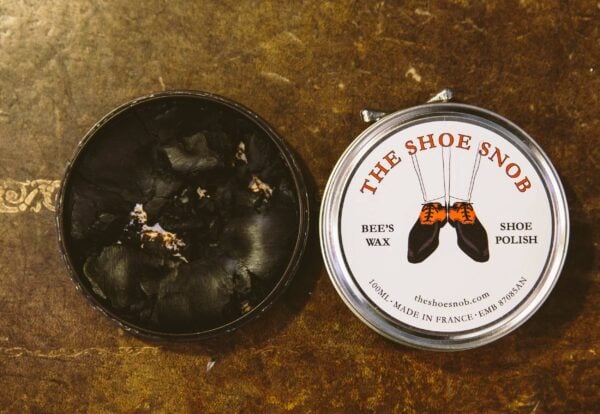
After adding the cream polish and allowing to dry the next step is to add the wax polish, by hand. In my opinion, a bee’s wax-based polish with turpentine gives off the best shine. You will find that most of the higher-end polishes have these ingredients and they are also very much used in the production of shoe polish made by French-based companies. When you apply the was polish you want to give it those little roundabout motions and do so evenly and thoroughly throughout the whole shoe.
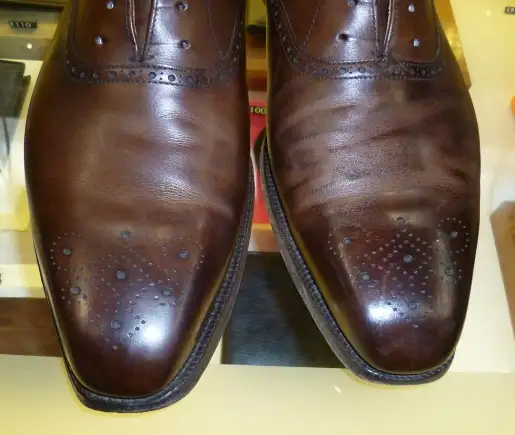
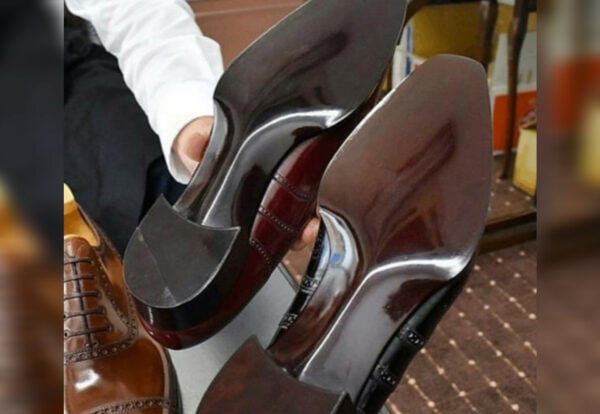
You also don’t want to be shy in applying a little bit of pressure when doing so, but not too much that you are cramping your fingers nor damaging the leather, just enough to really get into the pores of the skin. Speaking of pores, the way to get that mirror-like shine, which I am showing, is to completely fill in the pores of the leather in order to create a flat surface that then looks like glass. You will want to apply 1-2 layers of wax polish for this step before going on to the next one. Let the shoe sit for 10-20 minutes.
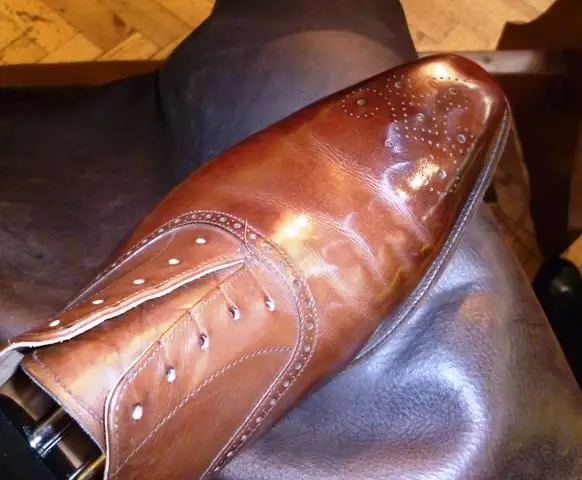
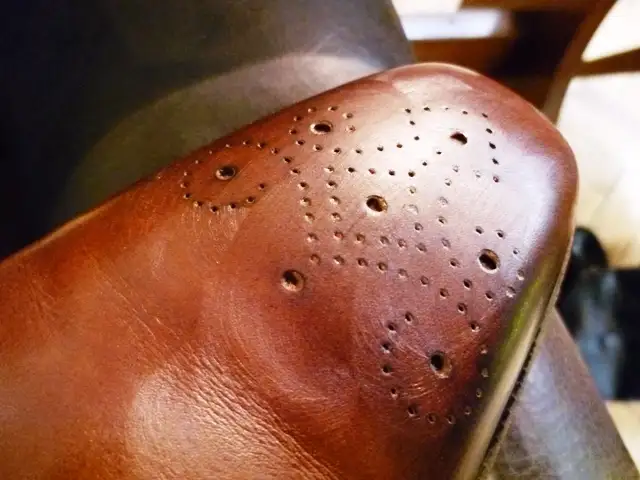
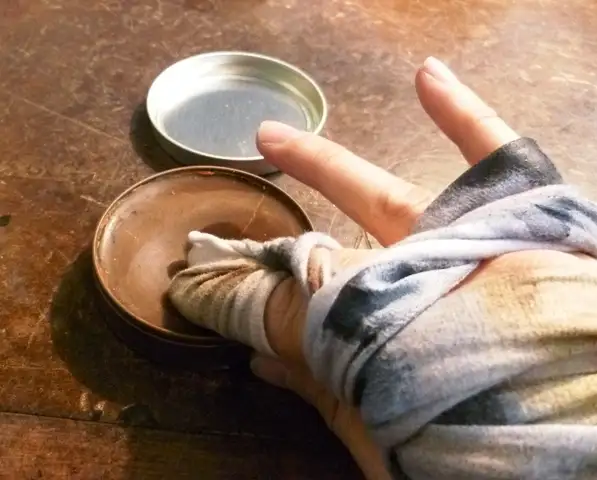
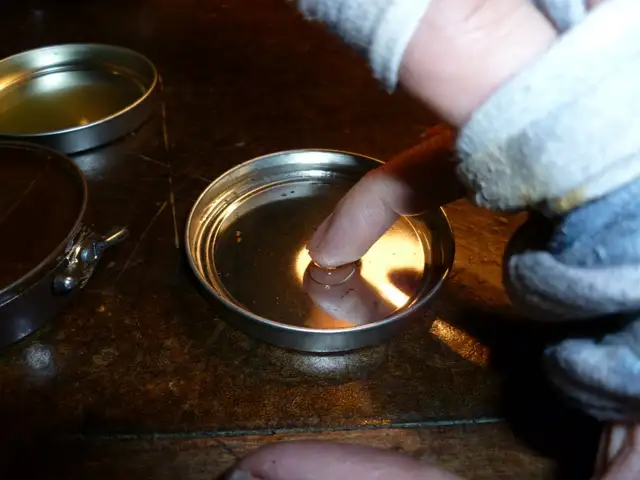
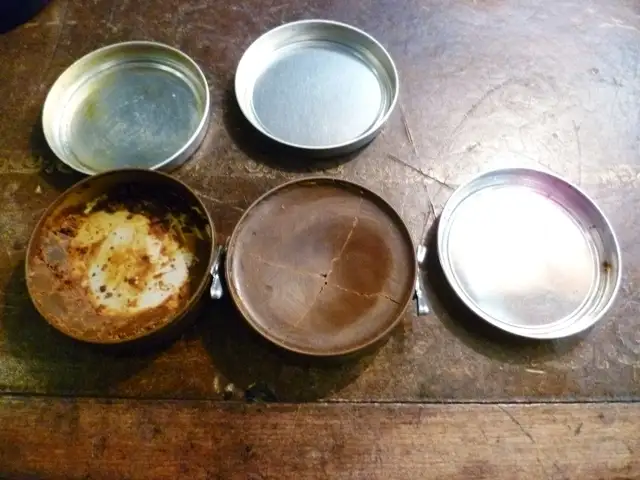
The final stage is the hardest and in reality, will be what you will have to learn on your own, just by continuously practicing. That being, I will still try and walk you through it. As you have already applied several layers of polish onto the shoe, you have a nice coat on by now which will allow you to directly add water to the mix, as in the old spit’n’shine. The way that I do this is to again affix the t-shirt to my hand, and then lightly dab my wedding finger (or equivalent on my right hand) into the tin of water to get a drop of it on the tip to then apply to the leather before polishing over.
Look at the pictures to see. Again, I dab my finger into the water, then dab my two polishing fingers into the wax, apply the drops of water onto the leather, then rub away the water with the polish in circular motions. Repeat and do for 1-2 hours throughout the entire shoe. This is the only way of really explaining it. The only thing to look out for is to make sure that you do not apply too much water and thus over-soak the leather or leave a water stain. If you do so you will have to let the shoe sit and dry for a while before starting again. A way to know when you are close is to feel the leather and how it will get smoother and smoother after each layer. And when you feel like you are nearly there, I always recommend letting the shoe dry overnight before applying the final layer of wax’n’water.
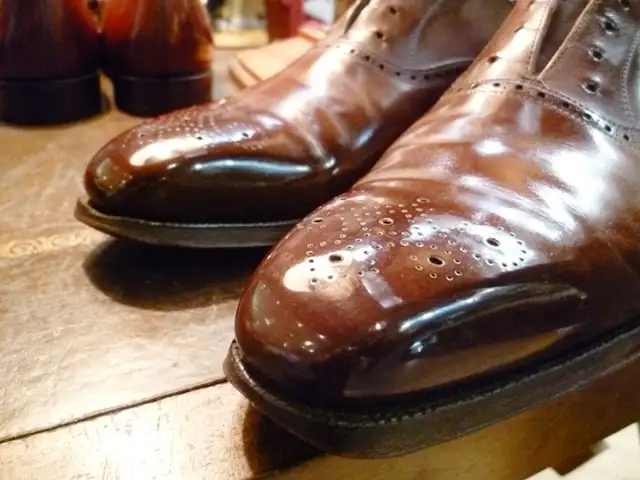
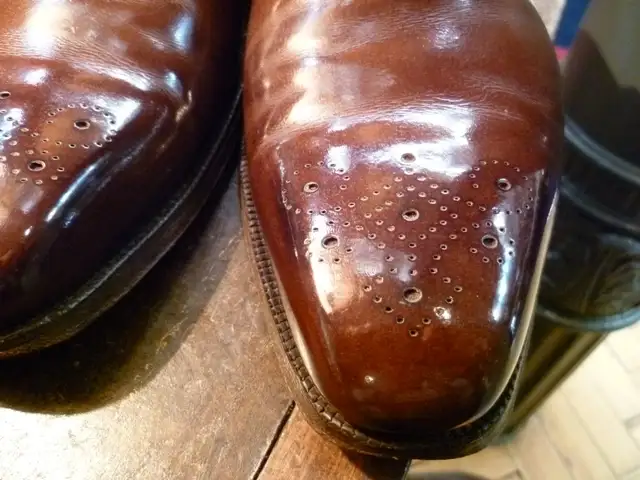
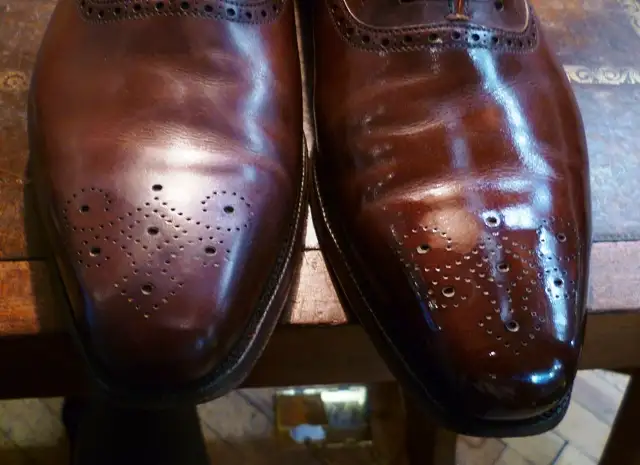
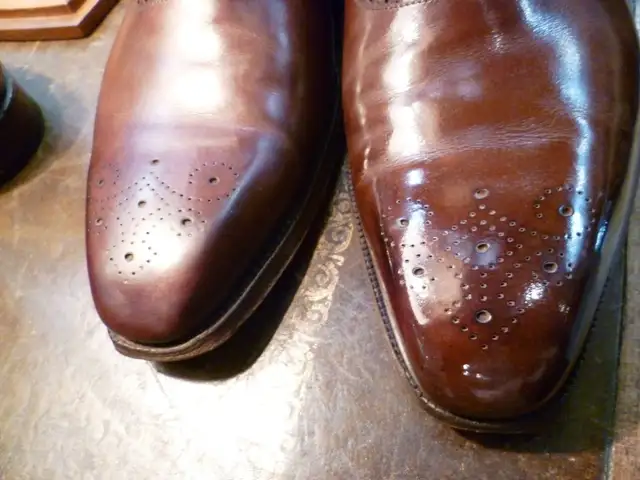
After completing the shine, the last touch is to take a piece of black nylon (think women’s tights) and rub it around the shoe, as this will help to take off dust, blend in the polish residue left behind from the cotton shirt and bring up that shine even more! And to maintain the shine, you should just use this nylon to wipe down your shoe every night. And that’s it!
Well, I hope that this helps out. Best of luck!
-Justin, “The Shoe Snob”


Thank you so much for posting this, it is exactly what I was hoping for!
I’m really interested in the different ways of removing the old polish as I definately have this problem, but didn’t realize it until you posted the pictures. Isn’t nail polish remover too harsh? Can I use rubbing alcohol? Should I delute the polish remover or alcohol with water? What other methods might you reccomend?
Thanks again. You made my list of vendors to visit for my first trip to Saville Row if I can find my way out there any time soon.
Saddlesoap works well
Posts like this one make following a blog worthwhile.
Kind Sir, this is absolutely marvelous, and I’ll have to make shoes with that french patina style and then to finish them with this technique! Awesome work! Thanks a million, you’ve made my day 😀
-Otso
Kind Sir, this is absolutely marvelous, and I’ll have to make shoes with that french patina style and then to finish them with this technique! Awesome work! Thanks a million, you’ve made my day 😀
-Otso
Hey Justin.
Great instructional on getting that mirror shine. Maybe you should amend it with a more thorough walk-through of how to remove shoe polish properly.
Also,it wouldn’t be right if you didn’t do one on how to properly clean and maintain nu-buck. Side note: This is directly related to the nu-buck side. An instructional on the entire patina process would be nice.
I’ve grown into sort of a snob myself. I’ve meticulously purchased some saddles recently,as well as some summer bucks in white,saddles as well. I was keen on getting those green nu-buck saddles from Cole Haan, but I settled for a white and olive leather version. I almost caved on a pair of Camel colored Dickie Browns for Florshiems. Everything else just didn’t have the right shape for me.
I guess I’m a snob of sorts myself.
Hey everyone…as Justin would say,STOP BEING CHEAP!!! I used to be one,but I’ve found myself gravitating to the better made shoes with a greater price point. But I took some advice from a friend of mine about life in general…Don’t cheat yourself. Treat yourself.
This great post reminded me of the time I saw the most magnificent display of boot polishing when I was in the army. The boots were as rough as kevlar, and somehow, the most incorrigible imbecile in the entire camp managed to bring the entire boot to a patent shine!
Hi Just
Compliment very nice post.
I have a question for you, I true than some really shoe snob use cognac instead of water for the final touch?
thanks
vittorio
Anonymous – It might depend on the nail polish remover, but the stuff that I use here doesn’t seem to be harsh enough. You can try rubbing alcohol, I am sure that it will not hurt it too bad so long as you do not rub too hard. I have gone as far as using bleach, but diluting it with water. Acetone is supposed to be the best, that is what is always recommended. Best of luck.
Culverwood – Glad that you enjoyed the post!
Otso – Thanks man, glad to have brought some goodness to your day!
Henry V. – Looks like my blog is rubbing off on you! As far as the nubuck goes, I can admit that I am no expert so I cannot really give many recommendations. A nubuck brush and some protectant spray is as good as it gets for me, and of course being wary of where you walk.
Benjy – The ‘ol spit n shine!!
Vittorio – To be honest, I am not sure, but nothing surprises me!
-Justin, “The Shoe Snob”
Urgent question (emergency):
I am going to a black tie event this weekend and was planning on wearing my black calf skin Crockett and Jones Alex shoes (whole-cut, plain toe) in place of patent shoes. I have been working on getting that shine as you describe in your blog, and I have somewhat succeeded in that.
HOWEVER (and here comes the emergency), the toes of the shoes appear to have lost some of their color (they appear more purple than black, and I am unable to get a uniform black color on the shoe, there are many “lighter/purple” parts which are particularly visible when I hold the shoe in bright light). What can I do? There are no quality shoemakers/cobblers where I live which I can visit.
Am I using the wrong wax? (I am only using the Crockett and Jones black wax polish that they sell in their store(“Handmade Wax Polish Black”).
What can I do to get the shoes in a uniform black color? Please help, this is quite an emergency as the black tie event is only a few days away 🙂
Thanks
S
Dear S – Email me at [email protected] with a picture, because I have never heard or seen what you are talking about. Have you tried looking at it in natural light? Did you try taking away some of the finish or just started using polish straight away? Email me regardless and I will do my best to help out.
-Justin, “The Shoe Snob”
Thanks Justin. Just sent you a photo.
Thanks
S
Fantastic post, I’ve needed this. Thanks!
I have one question, though, that is very basic yet very important that nobody ever seems to talk about: how in the world do you get the cloth/tshirt to stay on your fingers? I swear I have tried wrapping it every way I can think of and cannot get that sucker to stay put without holding it in a way that causes cramping after even a short time. Roughly what size do you cut it to? Any tips on that front?
Jeff S. – I take a x-large t-shirt and start to cut it in 2-3 inch strips from the bottom until I reach the arms. After I affix the shirt to my first two fingers, I then wrap it around my wrist area and when it’s getting towards the end, either wrap it around my thumb or any of the other ‘free’ fingers to hold into place. You will just have to keep trying until you get it but there is a way. As far as cramping goes, you will get used to it until you cramp no more.
-Justin, “The Shoe Snob”
I recall in an earlier article you spoke of a stocking being used to finish off the shine of a shoe. Since reading that, I tried it and the result was far better than I ever imagined. It seems to blend in all remaining surface polish/wax that the circular motion w/t-shirt and water drops didn’t absorb. Would you address that? — Thanks!
Low_Profile – Yes indeed, a black nylon is the key to finishing off a mirror shine, as well as maintaining it. I will update this post, tomorrow, to include that. Thanks for reminding me.
-Justin, “The Shoe Snob”
I’ve also learned in using stockings is that when using a black one it will cast a darkened shadow on any shoe leather other than black. So as a result, I’ll match the color of the nylon to the color of the leather or just use a white stocking if that’s not possible. I’ll still get the polishing advantages of the nylon.
I hope that adds to the discussion.
Hi Justin,
Quick question — do you recommend shinning/polishing a new pair of shoes BEFORE wearing them the first time? Thanks.
Low_Profile – This is strange, as it has never done so for me. I only use a black nylon and have used it on very light colored shoes. Strange for it to happen to you and not to me? As far as your second question goes, this is up for debate. I would say that you could get a normal shine or maybe just do the caps on a mirror like shine, but I have learned the hard way that when you add a mirror shine to a brand new shoe, that has not had the chance to set in the creases at the breaking point, the shine, which is essentially a layer of wax over the leather, will crack and depending on the quality of the leather, might also take some of the finish with it. However, I have put mirror shines, on my bespoke shoes before wearing them, which most are made with French calf skin, and it was fine. obviously some of the shine flaked off where the shoe breaks, but it did not affect the finish and was easily manageable. So it’s hard to say in all honesty.
-Justin, “The Shoe Snob”
This is a good demonstration of a lost art. THANK YOU for such an indepth and visual post. I often find that there are a lot of information on the internet, but there is no way to engage and to understand exactly what the writer means without visualising the description. This post really is very useful, and it gives me hope in rejuvenating my beloved leather shoes that I love SO much.
Thank you Shoe Snob. 🙂
May
Dear May – I am glad that I could be of help and give you some hope to restore, what I am sure are treasured shoes.
-Justin, “The Shoe Snob”
I REALLY Enjoyed YOU Article. Such a “Hands ON” Approach. I do have a Question? When applying the coats of paste and polish do you buff with a Horse Hair Brush after each coat? I am a bit confused. Please Explain and Elaborate.
Thanking YOU in advance for Your Valued Cooperation.
Anon – Glad that you enjoyed the post. I hope that you learned something from it. To answer your question, I only use a brush in the beginning to get dirt/dust off of the shoe. The shine is brought up with my cotton rag and bulling the shoes with polish in circular motions.
I hope that this helps.
-Justin
Hi,
Fantastic post. Many thanks.
I use La Cordonnerie Anglaise wax to polish my shoes, which is great.
But a question on tone changes. I have a light tan pair of Lodger’s broques (Bering Almond) but the colour is quite flat as they are so light. I’d like to maybe add some darker polish to the toe to add some depth but i’ve been unsuccessful so far. Any tips on this?
Many thanks for a wonderful post again!
Andy
Hi! wonderful explanation.
Whats the purpose of using those drops of water? What role does the water play?
When applying various thin layers of wax polish, how do we know that the 1st layer has “hardened” sufficiently before adding 2nd layer? When applying. 2nd layer of wax polish, wont it remove the 1st layer?
Andy – I am so sorry that I just realized that I never answered your question. That is not usually like me, so please forgive me. I hope that you get this. As per your question, you will want to use a paste or cream polish. As you are using LCA, I assume that it is a wax polish, which is not strong in pigment and is most likely why you have been unsuccessful. You can use Kiwi to darken a toe, as it is strong in pigment….I hope that this helps…sorry again for the tardy reply
Anon – the water helps to disperse the polish into the pores of the leather which is how you build the shine…..waiting 10 mins (minimum) is sufficient. You don’t have to know by looking, just by time….no, the second application won’t remove the 1st, so long as it has dried sufficiently…
-Justin
I may have missed it but did you ever include steps to buff out the wax polish between each application? If not you really should. Piling layer upon of wax like that will suffocate the leather and dry it out. It’s skin, dead and tanned but still skin, and just like the skin on your body you need to let it breathe to stay healthy. When I polish my shoes I always use a good buffing cloth or a second horsehair brush to buff out and remove any excess polish after every single application. This ensures that just enough wax stays behind to give the shoes that wanted shine without completely choking off the leather.
Also, I know how leather does get crease marks and small cracks over time, but in those first couple of photos with the polish stripped, the leather looks really dried out. A good trick is if you know you won’t be wearing your shoes for a while, to condition them and then just set them in their box to rest without re-polishing them. First clean off all the polish, then use a little saddle soap like you do to clean the shoes thoroughly and wipe down the shoes with a damp cloth and then get a good leather conditioning lotion like Bick 4 and give it a couple coats. Just a dab and rub it in by hand, no cloth or applicators. Give it one thin coating, let it dry, then another thin coating. Once you’ve thoroughly conditioned the leather you can slip some shoe trees/forms inside and just put them in their box or a cloth bag and tuck them away in your closet. This let’s the leather spend time abosorbing much needed moisture from the conditioner and more importantly it let’s them breathe which will keep the leather much healthier and restore some of their natural luster.
Far too often do I see people who don’t take the time to condition and rejuvinate the leather so it gets terribly dried out and unhealthy. Then they end up having to apply more and more polish to cover up the dry cracks and dull spots, which only kills the leather more.
Overall a good post though, showed some very interesting a neat techniques for polishing shoes. I will definitely try that finger wrapping trick. Again, my only suggestion is just to buff off excess wax between applications and to every now and again do a full stripping and conditioning without applying new polish all to keep the leather healthy.
Is British Tan the same London Tan?
don’t know what either one of them are…they are just names that brands have given to a color…one person’s british tan won’t be the same as the next….like British Racing Green…it’s not the same from maker to maker
The toe box is extensive sufficient to let your toes jiggle and change. I can best label these shoes as tiring a glove when likened to tiring mittens. Your foot fixes a little more work and you can certainly feel the crushed, but in a good way.
Actually I got my experience in Prison . With no regrets and full of life…
I had no idea that a shoe shine blog could keep my interest. But this guy did it!
Without doubt a complete waste of time. I have polished my own shoes for decades and can state to those new to polishing shoes, that the above is a process that is not only going to use up your time and effort, but can cause more problems than it is worth. For a time I got sucked into trying the type of method describe here, with very mixed results and almost ruined some of my very best shoes.
Here is the sensible way to get a shine, polish, or whatever you want to call it.
Clean any dirt or dust off with one of your stiff haired brushes. If you have thick layers of the old polish building up on the shoes, put a little mentholated spirits onto a rage and gentle wipe off. Don’t worry about all this shoe conditioner stuff, that you really only ever need to apply very rarely if the shoes really need it. You might want to apply a little shoe cream WITH A BRUSH and then buff WITH A BRUSH. The same is done with a wax polish, apply WITH A BRUSH, none of this applying with a cloth business! After applying the polish, let the shoes sit for about 10 minutes, and buff WITH A SOFT HORSE BRUSH, and if you have a goat’s hair brush use that after. Then, AND ONLY THEN, use a microfibre cloth (or something similar) to extremely lightly buff the shoes to finish off with! Okay, I‘ll leave you all to it.
Good day!
Justin, thanks so much for this article and the videos on your youtube channels, especially this one (https://www.youtube.com/watch?v=WdHS-IgbHC0). I’ve been using this as an example since I bought my first and second pair of quality dress shoes in 2017 (Allen Edmunds: Fifth Avenue / McAllister). From polishing every 4 to 6 months using this guide and your youtube channel, the shoes still look to be nearly brand new. Thanks again!
My pleasure and thank you for saying so. Happy to have helped!